Auth Provider
refine let's you set authentication logic by providing the authProvider property to the <Refine> component.
authProvider is an object with methods that refine uses when necessary. These methods are needed to return a Promise. They also can be accessed with specialized hooks.
An auth provider must include following methods:
const authProvider = {
    login: () => Promise.resolve(),
    register: () => Promise.resolve(),
    forgotPassword: () => Promise.resolve(),
    updatePassword: () => Promise.resolve(),
    logout: () => Promise.resolve(),
    checkAuth: () => Promise.resolve(),
    checkError: () => Promise.resolve(),
    getPermissions: () => Promise.resolve(),
    getUserIdentity: () => Promise.resolve(),
};
refine consumes these methods using authorization hooks. Authorization hooks are used to manage authentication and authorization operations like login, logout and catching HTTP errors etc.
You can find auth provider examples made with refine
- Auth0 → Source Code - Demo
- Google → Source Code - Demo
- OTP Login → Source Code - Demo
Usage
To use authProvider in refine, we have to pass the authProvider to the <Refine /> component.
import { Refine } from "@pankod/refine-core";
import routerProvider from "@pankod/refine-react-router-v6";
import dataProvider from "@pankod/refine-simple-rest";

import authProvider from "./auth-provider";

const API_URL = "https://api.fake-rest.refine.dev";

const App = () => {
    return (
        <Refine
            authProvider={authProvider}
            routerProvider={routerProvider}
            dataProvider={dataProvider(API_URL)}
        />
    );
};
By default, refine doesn't require authentication configuration.
If an authProvider property is not provided, refine will use the default authProvider. This default authProvider lets the app work without an authentication requirement.
If your app doesn't require authentication, no further setup is necessary for the app to work.
Creating an authProvider
We will build a simple authProvider from scratch to show the logic of how authProvider methods interact with the app.
login
refine expects this method to return a resolved Promise if the login is successful, and a rejected Promise if it is not.
If the login is successful, pages that require authentication becomes accessible.
If the login fails, refine displays an error notification to the user.
Here we show an example login method that stores auth data in localStorage.
For the sake of simplicity, we'll use mock data and check the user credentials from local storage.
const mockUsers = [{ username: "admin" }, { username: "editor" }];

const authProvider = {
    login: ({ username, password, remember }) => {
        // Suppose we actually send a request to the back end here.
        const user = mockUsers.find((item) => item.username === username);

        if (user) {
            localStorage.setItem("auth", JSON.stringify(user));
            return Promise.resolve();
        }

        return Promise.reject();
    },
};
login method will be accessible via useLogin auth hook.
import { useLogin } from "@pankod/refine-core";

const { mutate: login } = useLogin();

login(values);
mutate acquired from useLogin can accept any kind of object for values since login method from authProvider does not have a restriction on its parameters.
A type parameter for the values can be provided to useLogin.
const { mutate: login } =
    useLogin<{ username: string; password: string; remember: boolean }>();
refine automatically displays an error notification if the login fails. You can customize the default error message.
login: ({ username, password, remember }) => {
    const user = mockUsers.find((item) => item.username === username);

        if (user) {
            localStorage.setItem("auth", JSON.stringify(user));
            return Promise.resolve();
        }

        return Promise.reject({
            name: "Login Failed!",
            message: "The username or password that you've entered doesn't match any account.",
        });
    },
Default login page
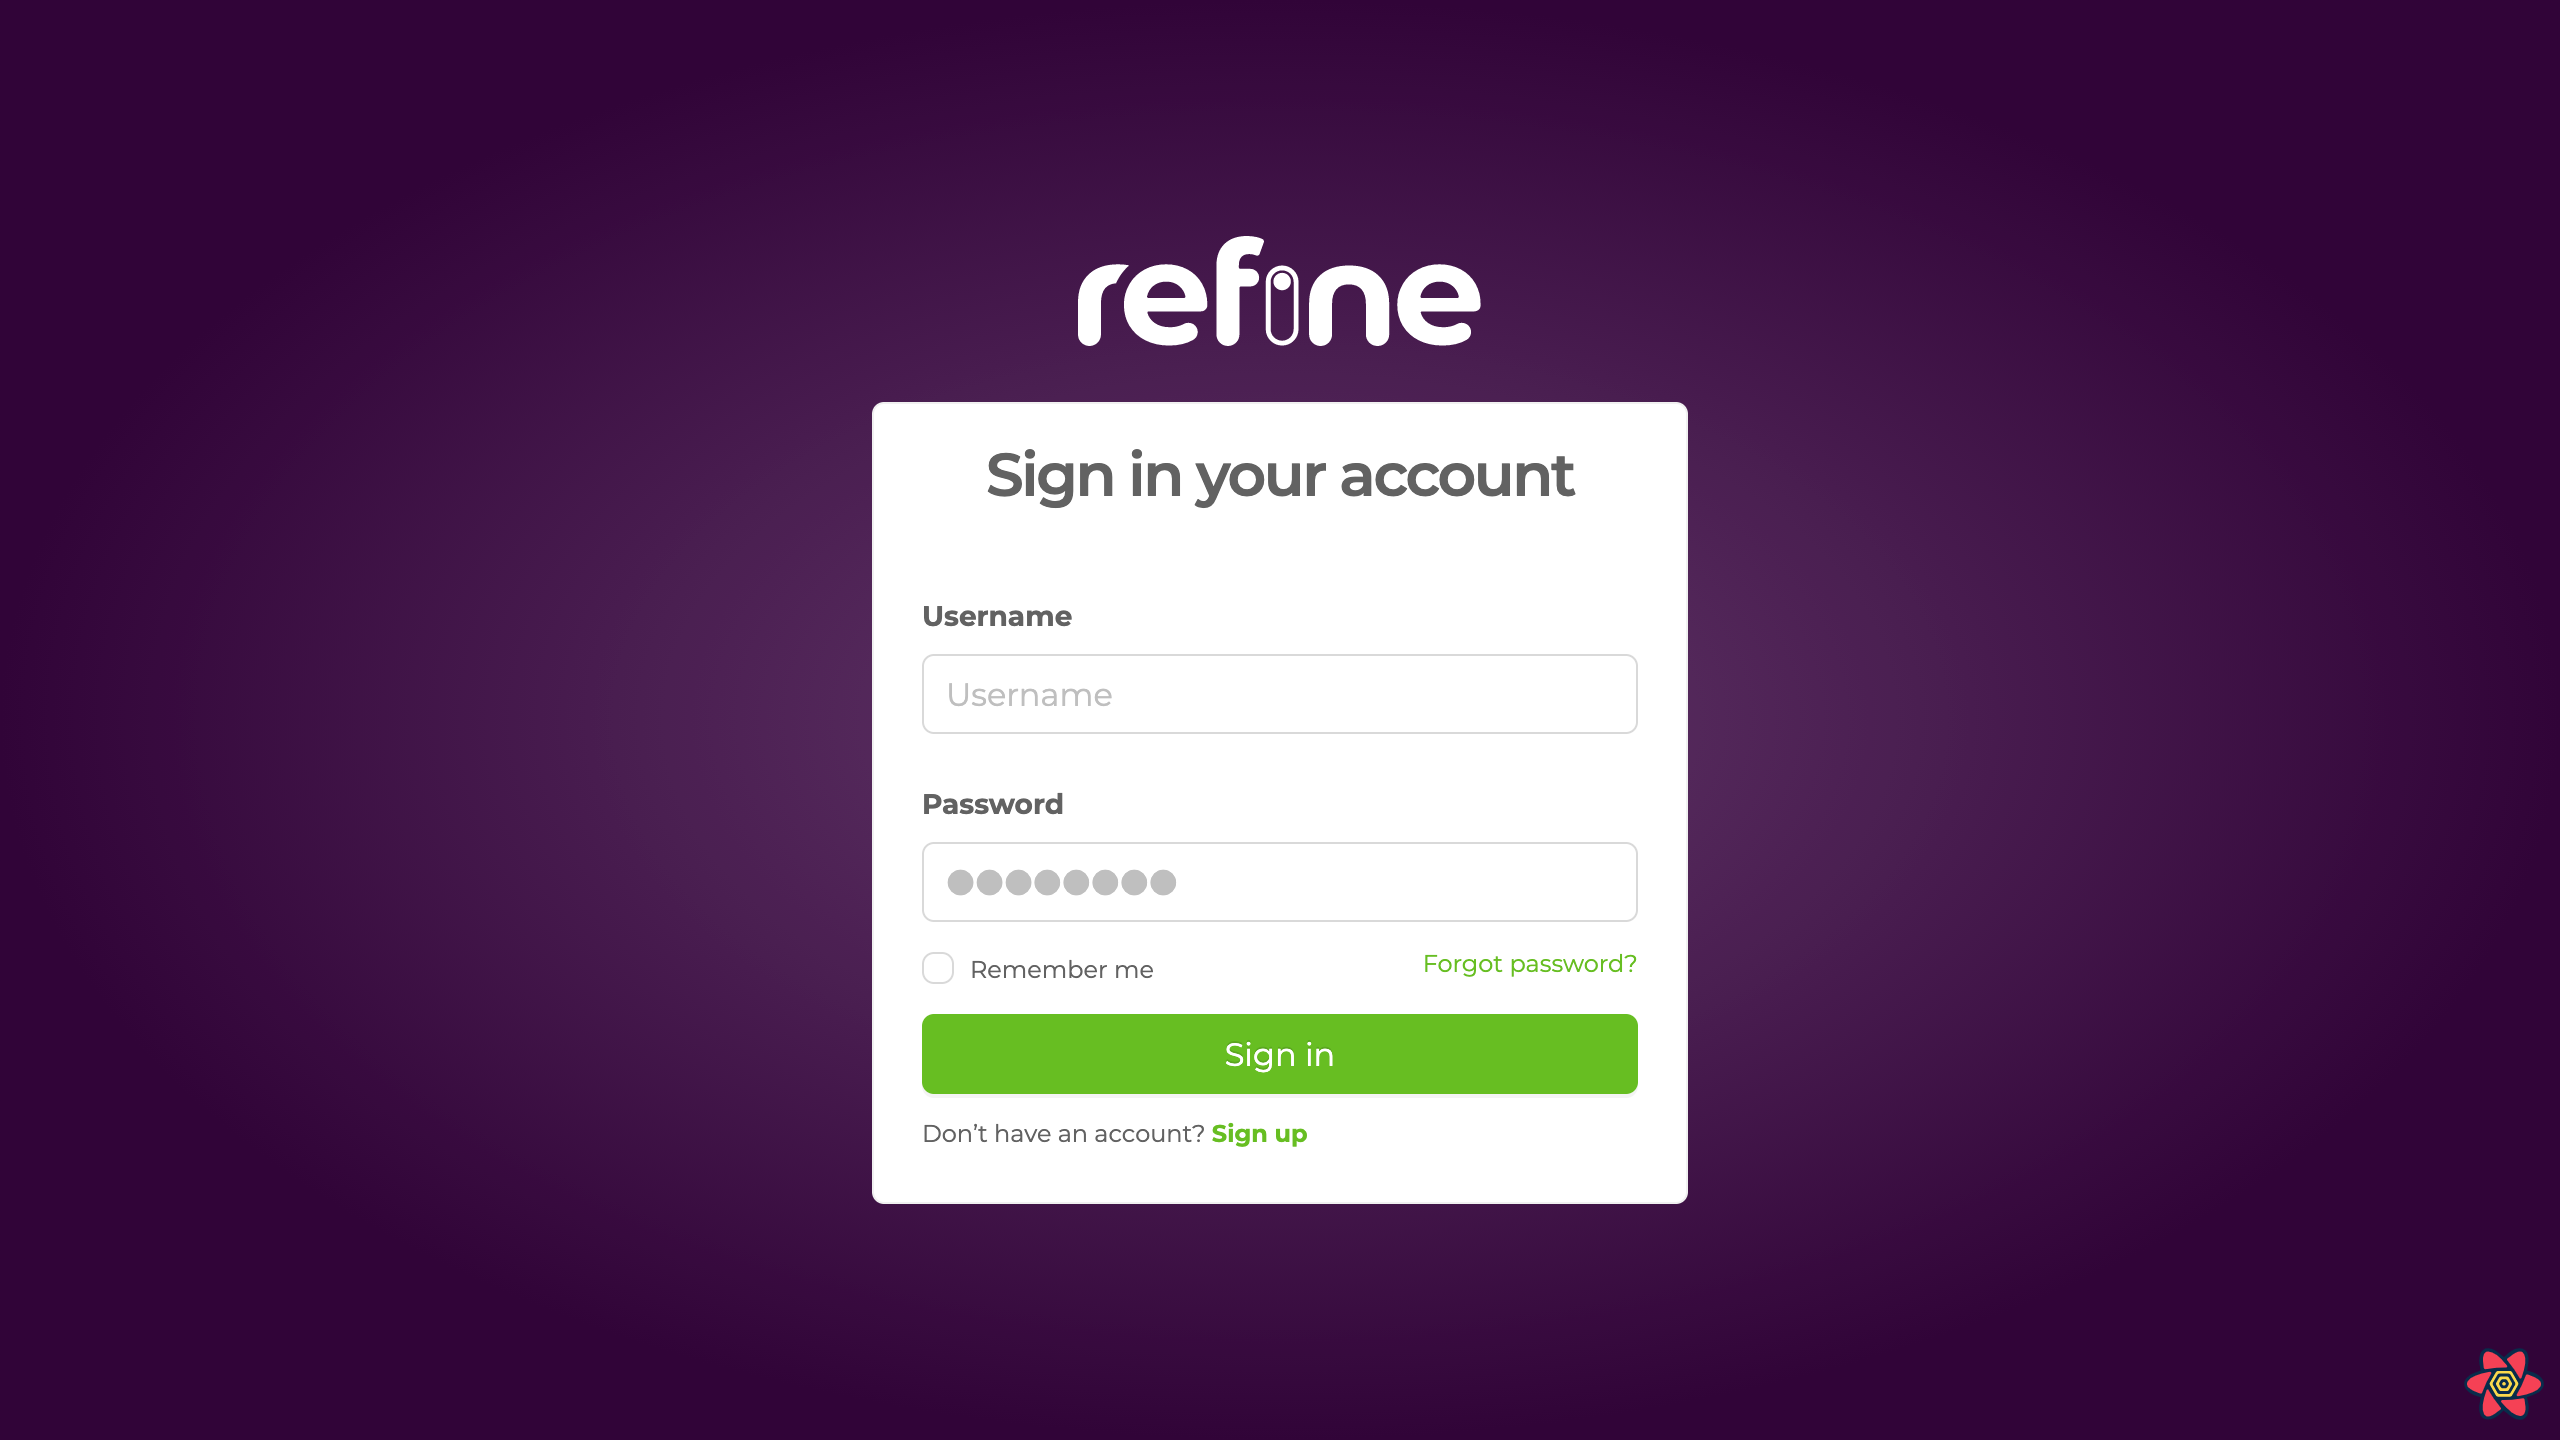
If an authProvider is given, refine shows a default login page on "/" and "/login" routes and a login form if a custom LoginPage is not provided.
Rest of the app won't be accessible until successful authentication.
After submission, login form calls the login method from authProvider.

If an authProvider is given, resources passed to <Refine> as property are only accessible if the login is successful. if no authProvider was provided, they are accessible without authentication.
register
refine expects this method to return a resolved Promise if the register is successful, and a rejected Promise if it is not.
If the register is successful new user is created.
If the register fails, refine displays an error notification to the user.
Here we show an example register method.
const authProvider = {
    register: ({ email, password }) => {
        // We suppose we actually send a request to the back end here.
        if (email && password) {
            // We can create a new user here.
            return Promise.resolve();
        }
        return Promise.reject();
    },
};
register method will be accessible via useRegister auth hook.
import { useRegister } from "@pankod/refine-core";

const { mutate: register } = useRegister();

register(values);
mutate acquired from useRegister can accept any kind of object for values since register method from authProvider does not have a restriction on its parameters.
A type parameter for the values can be provided to useRegister.
const { mutate: register } = useRegister<{ email: string; password: string }>();
refine automatically displays an error notification if the registration fails. You can customize the default error message.
register: ({ email, password }) => {
     if (email && password) {
            return Promise.resolve();
        }
        return Promise.reject({
            name: "Register Failed!",
            message: "The email or password missing.",
        });
    },
forgotPassword
refine expects this method to return a resolved Promise if the forgot password is successful, and a rejected Promise if it is not.
If the forgot password is successful you can send an email to the user with a link to reset the password.
If the forgot password fails, refine displays an error notification to the user.
Here we show an example forgotPassword method.
const authProvider = {
    forgotPassword: ({ email }) => {
        // We suppose we actually send a request to the back end here.
        if (email) {
            //we can send an email to the user with a link to reset the password.
            return Promise.resolve();
        }
        return Promise.reject();
    },
};
forgotPassword method will be accessible via useForgotPassword auth hook.
import { useForgotPassword } from "@pankod/refine-core";

const { mutate: forgotPassword } = useForgotPassword();

forgotPassword(values);
mutate acquired from useForgotPassword can accept any kind of object for values since forgotPassword method from authProvider does not have a restriction on its parameters.
A type parameter for the values can be provided to useForgotPassword.
const { mutate: forgotPassword } =
    useForgotPassword<{
        email: string;
    }>();
refine automatically displays an error notification if the forgot password fails. You can customize the default error message.
forgotPassword: ({ email }) => {
     if (email) {
            return Promise.resolve();
        }
        return Promise.reject({
            name: "Reset Password Failed!",
            message: "The email is missing.",
        });
    },
Refer to useForgotPassword documentation for more information. →
updatePassword
refine expects this method to return a resolved Promise if the update password is successful, and a rejected Promise if it is not.
If the update password is successful your password is updated.
updatePasswordcan gives you the query params from the url.If the update password fails, refine displays an error notification to the user.
Here we show an example forgotPassword method.
const authProvider = {
    updatePassword: ({ newPassword, queryStrings }) => {
        // If you want to get token the query params from the url, you can use `queryStrings`.
        if (newPassword) {
            //we can update the password.
            return Promise.resolve();
        }
        return Promise.reject();
    },
};
updatePassword method will be accessible via useUpdatePassword auth hook.
import { useUpdatePassword } from "@pankod/refine-core";

const { mutate: updatePassword } = useUpdatePassword();

updatePassword(values);
mutate acquired from useUpdatePassword can accept any kind of object for values since updatePassword method from authProvider does not have a restriction on its parameters.
A type parameter for the values can be provided to useUpdatePassword.
const { mutate: updatePassword } =
    useUpdatePassword<{
        newPassword: string;
    }>();
refine automatically displays an error notification if the update password fails. You can customize the default error message.
forgotPassword: ({ email }) => {
     if (email) {
            return Promise.resolve();
        }
        return Promise.reject({
            name: "Update Password Failed!",
            message: "Update Password token expired.",
        });
    },
Refer to useUpdatePassword documentation for more information. →
logout
refine expects this method to return a resolved Promise if the logout is successful, and a rejected Promise if it is not.
If the logout is successful, pages that requires authentication becomes inaccessible.
If the logout fails, refine displays an error notification to the user.
Here we show an example logout that removes auth data from local storage and returns a resolved promise.
const authProvider = {
    ...
    logout: () => {
        localStorage.removeItem("auth");
        return Promise.resolve();
    }
    ...
}
logout method will be accessible via the useLogout auth hook.
import { useLogout } from "@pankod/refine-core";

const { mutate: logout } = useLogout();

logout();
mutate acquired from useLogout can accept any kind of object for values since logout method from authProvider doesn't have a restriction on its parameters.
Default logout button
If authentication is enabled, a logout button appears at the bottom of the side bar menu. When the button is clicked, logout method from authProvider is called.
refine redirects the app to /login route by default.

Redirection after logout
Redirection url can be customized by returning a route string, or false to disable redirection after logout.
const authProvider = {
    ...
    logout: () => {
        localStorage.removeItem("auth");
        return Promise.resolve("/custom-url");
    }
}
Current authentication data needs to be cleaned by the logout method. For example, if a token is stored in local storage, logout must remove it as shown above.
checkError
When a dataProvider method returns an error, checkError is called with the error object.
If checkError returns a rejected promise, the logout method is called and user becomes unauthorized and gets redirected to /login page by default.
In this example, we log the user out when HTTP error status code is 401.
You can decide, depending on any error status code you want to check, if the users continue to process by returning a resolved promise or if they are logged out for rejecting the promise.
const authProvider = {
    ...
    logout: () => {
        localStorage.removeItem("auth");
        return Promise.resolve();
    },
    checkError: (error) => {
        if (error.status === 401) {
            return Promise.reject();
        }
        return Promise.resolve();
    },
   ...
};
checkError method will be accessible via the useCheckError auth hook.
import { useCheckError } from "@pankod/refine-core";

const { mutate: checkError } = useCheckError();

checkError(error);
mutate acquired from useLogout can accept any kind of object for values since logout method from authProvider doesn't have a restriction on its parameters.
Refer to useCheckError documentation for more information. →
Redirection after error
You can override the default redirection by giving a path to the rejected promise.
checkError: (error) => {
    if (error.status === 401) {
        return Promise.reject("/custom-url");
    }
    ...
}
Redirection path given to checkError overrides the one on logout.
checkAuth
Whenever route changes, checkAuth from authProvider is called.
When checkAuth returns a rejected promise, authentication is cancelled and the app is redirected to an error page that allows the user to navigate to the root path which shows a login page by default.
Checking the authentication data can be easily done here. For example if the authentication data is stored in the local storage:
const authProvider = {
   ...
    checkAuth: () => {
        return localStorage.getItem("auth") ? Promise.resolve() : Promise.reject();
    },
   ...
};
- A custom
redirectPathcan be given toPromisereject from thecheckAuth. If you want to redirect yourself to a certain URL.
const authProvider = {
   ...
    checkAuth: () => {
        return localStorage.getItem("auth")
            ? Promise.resolve()
            : Promise.reject({ redirectPath: "/custom-url" });
    },
   ...
};
checkAuth method will be accessible via useAuthenticated auth hook.
import { useAuthenticated } from "@pankod/refine-core";

const {
    isSuccess,
    isLoading,
    isError,
    refetch: checkAuth,
} = useAuthenticated();
Refer to useAuthenticated documentation for more information. →
getPermissions
You may want to require authorization for certain parts of the app based on the permissions that current user have. Permission logic can be defined in the getPermission method.
We will show you how to give authorization based on roles determined in getPermissions.
const mockUsers = [
    {
        username: "admin",
        roles: ["admin"],
    },
    {
        username: "editor",
        roles: ["editor"],
    }
];

const authProvider = {
...
    getPermissions: () => {
        const auth = localStorage.getItem("auth");
        if (auth) {
            const parsedUser = JSON.parse(auth);
            return Promise.resolve(parsedUser.roles);
        }
        return Promise.reject();
    },
...
};
Data that getPermissions resolves with is accessible by the usePermissions hook.
For example let's say that only the admins must be able to create new posts from the list page.
<List> can show a button for creating new posts. If it's required that only admins can create new posts, this button must be only accessible to users who has the "admin" role.
import { usePermissions } from "@pankod/refine-core";
import { List } from "@pankod/refine-antd";

export const PostList: React.FC = () => {
    const { data: permissionsData } = usePermissions();

    return <List canCreate={permissionsData?.includes("admin")}>...</List>;
};
Refer to usePermissions documentation for more information. →
getUserIdentity
User data can be accessed within the app by returning a resolved Promise in the getUserIdentity method.
const authProvider = {
...
    getUserIdentity: () => {
        const auth = localStorage.getItem("auth");
        if (auth) {
            const parsedUser = JSON.parse(auth);
            return Promise.resolve(parsedUser.username);
        }
        return Promise.reject();
    }
...
};
The resolved data can be acquired using the useGetIdentity hook.
import { useGetIdentity } from "@pankod/refine-core";

const { data: userIdentity } = useGetIdentity<string>();
// userIdentity: "admin"
Refer to useGetIdentity documentation for more information. →
const authProvider = {
    ...
    getUserIdentity: () => {
        const user = {
            name: "Jane Doe",
            avatar: "https://i.pravatar.cc/150?u=refine",
        };
        return Promise.resolve(user);
    },
    ...
};
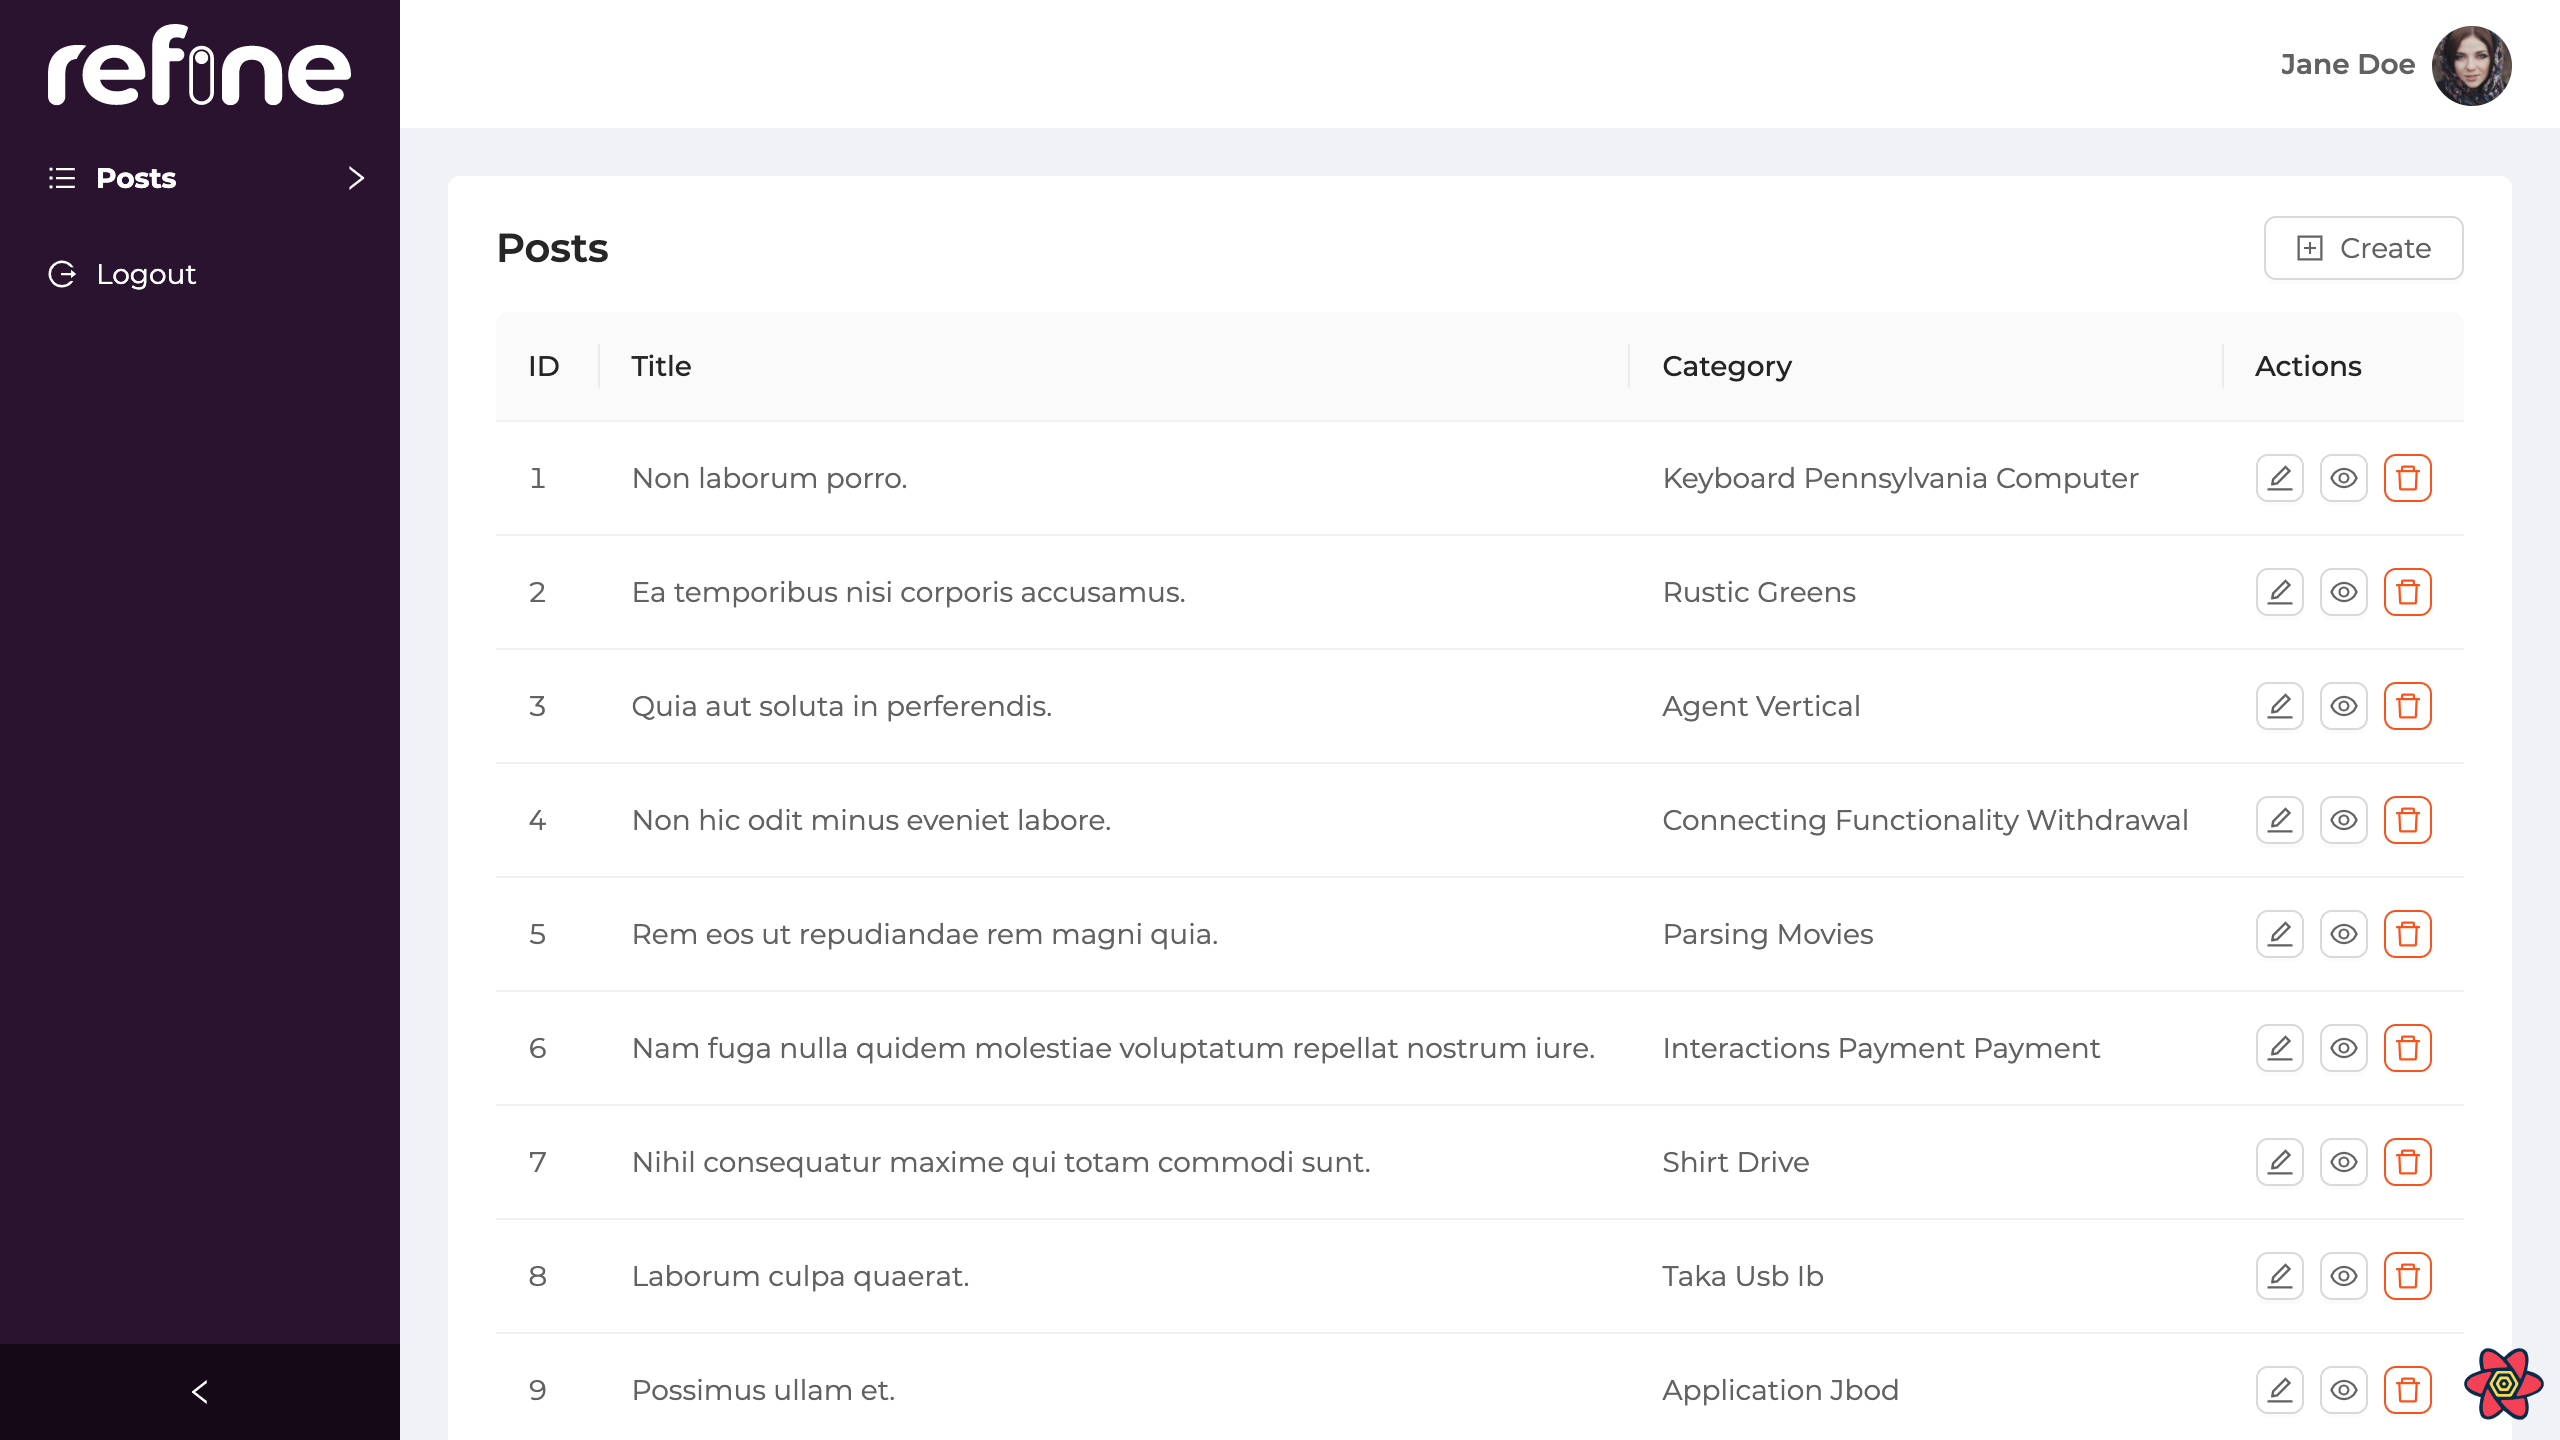
If the resolved data has a name or avatar property, refine renders a suitable header for that data:

If the resolved data has a name property, a name text appears; if it has an avatar property, an avatar image appears; if it has a name and an avatar property, they both appear together.
Setting Authorization Credentials
After user logs in, their credentials can be sent along with the API request by configuring the dataProvider. A custom httpClient can be passed to dataProvider to include configurations like cookies and request headers.
We'll show how to add a token acquired from the login method to the Authorization header of the HTTP requests. We will leverage the default headers configuration of Axios. See the Config Default of Axios docs for more information on how this works.
...
import axios from "axios";

const axiosInstance = axios.create();

const mockUsers = [
    { username: "admin", token: "123" },
    { username: "editor", token: "321" }
];

const App = () => {
    const authProvider: AuthProvider = {
        login: ({ username, password }) => {
                // Suppose we actually send a request to the back end here.
                const user = mockUsers.find((item) => item.username === username);

                if (user) {
                    localStorage.setItem("auth", JSON.stringify(user));
                    // This sets the authorization headers on Axios instance
                    axiosInstance.defaults.headers.common = {
                        Authorization: `Bearer ${user.token}`,
                    };

                    return Promise.resolve();
                }
                return Promise.reject();
            },
            ...
        };

    return (
        <Refine
            authProvider={authProvider}
            routerProvider={routerProvider}
            dataProvider={dataProvider(API_URL, axiosInstance)}
        />
    );
}
We recommend using axios as the HTTP client with the @pankod/refine-simple-rest dataProvider. Other HTTP clients can also be preferred.
Since default headers are per Axios instance it is important that you create a single Axios instance that will be re-used throughout your Refine project. There are a few methods to accomplish this, as shown one could create a variable that you import in other parts of your project and use as necessary. Another option would be to use a Singleton model which may work better depending on your code structure.
Another option for setting the authorization for Axios is to use axios.interceptors.request.use(). This intercepts any request made and performs some function on that request. In theory, this function could do anything, for instance checking browser local storage for a key/token and inserting it somewhere in the request before sending the request. See the interceptor docs for more information.
Here is an example of how one could use the interceptors to include authorization information in requests. This example uses Bearer tokens and assumes they've been saved in browser local storage:
...
import axios from "axios";
const axiosInstance = axios.create();

axiosInstance.interceptors.request.use(
    // Here we can perform any function we'd like on the request
    (request: AxiosRequestConfig) => {
        // Retrieve the token from local storage
        const token = JSON.parse(localStorage.getItem("auth"));
        // Check if the header property exists
        if (request.headers) {
            // Set the Authorization header if it exists
            request.headers[
                "Authorization"
            ] = `Bearer ${token}`;
        } else {
            // Create the headers property if it does not exist
            request.headers = {
                Authorization: `Bearer ${token}`,
            };
        }

        return request;
    },
);


const mockUsers = [
    { username: "admin", token: "123" },
    { username: "editor", token: "321" }
];

const App = () => {
    const authProvider: AuthProvider = {
        login: ({ username, password }) => {
                // Suppose we actually send a request to the back end here.
                const user = mockUsers.find((item) => item.username === username);

                if (user) {
                    localStorage.setItem("auth", JSON.stringify(user));
                    return Promise.resolve();
                }
                return Promise.reject();
            },
            ...
        };

    return (
        <Refine
            authProvider={authProvider}
            routerProvider={routerProvider}
            dataProvider={dataProvider(API_URL, axiosInstance)}
        />
    );
}
Interceptors are also a great way for refreshing tokens when they expire.
Hooks and Components
These hooks can be used with the authProvider authentication and authorization operations.
- useAuthenticated
- useCheckError
- useGetIdentity
- useLogin
- useLogout
- usePermissions
<Authenticated />- useRegister
- useForgotPassword
- useUpdatePassword
API Reference
Properties
| Property | Description | Resolve condition |
|---|---|---|
| login Required | Logs user in | Auth confirms login |
| logout Required | Logs user out | Auth confirms logout |
| checkAuth Required | Checks credentials on each route changes | Authentication still persist |
| checkError Required | Checks if a dataProvider returns an error | Data provider doesn't return an error |
| getPermissions Required | Can be use to get user credentials | Authorization roles accepted |
| getUserIdentity | Can be use to get user identity | User identity available to return |
| register | Register user | Auth confirms register |
| forgotPassword | Can be use to get password reset | Auth confirms forgot password |
| updatePassword | Can be use to get update password | Auth confirms update password |